
Think of all the various gadgets, features, and gizmos that pro photographers in this world like to nerd out about. There’s sensor resolution, ISO, autofocus speed, the list goes on. What about viewfinders? Even more fundamentally, what is a viewfinder?
- What Is a Viewfinder in a DSLR?
- What Is a Viewfinder in a Mirrorless Camera?
- Electronic Viewfinders
- History of the Viewfinder
- How to Use a Viewfinder
Despite being one of the single most important parts of a camera involved in the actual picture-taking process, viewfinders are often overlooked. Let’s rectify that.
First off, let’s talk some simple definitions. According to the dictionary, the viewfinder is the part of the camera that shows the photographer their subject area while composing.
That’s it. Nothing more, nothing less.
Obviously, this does little to really answer the question, “What Is a Viewfinder?”
Therefore, let’s indulge ourselves in a deeper answer.
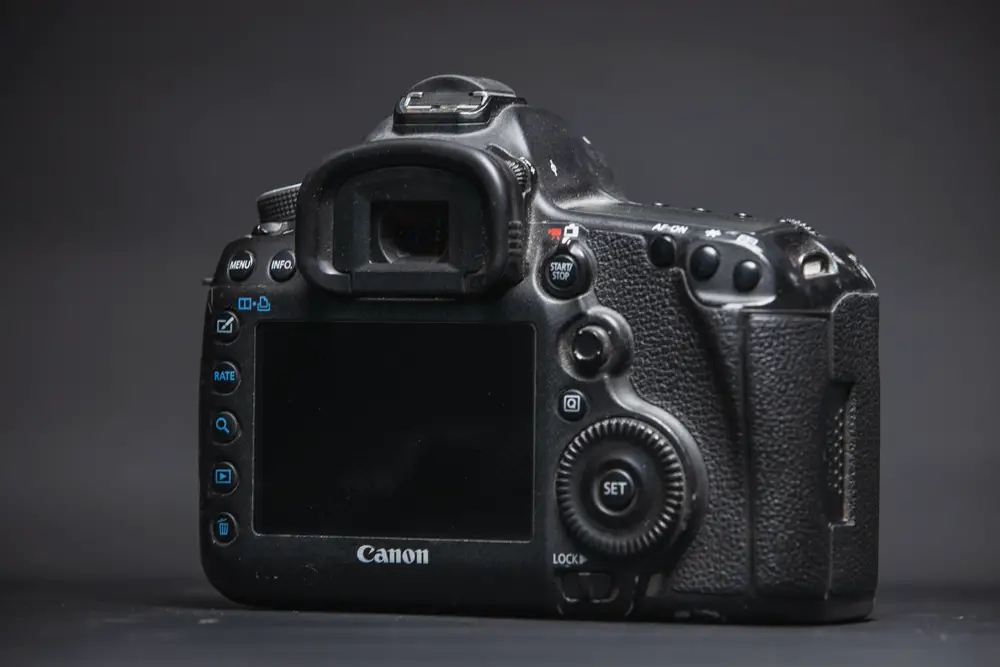
What Is a Viewfinder in a DSLR?
If you are reading this article, then chances are your digital camera is probably what’s called a DSLR.
Until recently, the vast majority of digital cameras in the world were DSLRs, only recently overtaken by mirrorless cameras in popularity. And, if you are willing to count them, phone cameras too of course.
But what does the viewfinder do in such a camera? Let’s take a look.
Basically, the viewfinder in a DSLR is a small window that directs light into your eye through a glass prism. A so-called reflex mirror takes light entering the lens, catches it before it hits the sensor, and reflects it into your eye through the prism.
This allows you to view exactly what the lens is seeing in real-time as you compose. However, for digital cameras, this convenience is offset by a few disadvantages.
First of all, many DSLRs do not even use proper prisms! Instead, they have what is called a pentamirror. They differ in that a mirror setup is less expensive, and also lighter. However, a prism channels light more effectively, resulting in a brighter and clearer viewfinder image.
Prisms were the original design for SLRs, while pentamirrors emerged later as a cost-saving measure.
But besides that, the DSLR design has its own inherent flaws.
Shutter Lag
Shutter lag happens the photograph you actually take does not perfectly correspond to the moment you trip the shutter. Why? Because in order to expose the sensor, the DSLR has to move the reflex mirror out of the way. This takes a fraction of a second, and delays your exposure by just that much.
Flange Distance
There is also an issue with clearance. Since there needs to be space for the reflex mirror in the front of the camera, lenses need to accommodate this too. Their internal focusing mechanism has to be far away from the reflex mirror to prevent accidental damage.
As a result, DSLR lenses can be quite bulky. This safety distance is called the flange distance in technical lingo, and it is a problem chiefly with SLR designs.
The Problem with Videography
If you want to move beyond still photography and record videos with your DSLR, you might run into some trouble. This is because the DSLR can only ever do one thing at a time, give you a viewfinder image or expose the sensor.
So, when you shoot a movie, the reflex mirror has to be out of the way the whole time (unless you are going for single-digit frame rates).
This means that the only way to see what you’re doing while recording video on a DSLR is by using live view. Essentially, live view is using the rear LCD as a digital viewfinder. However, the rear screen on most DSLRs is not optimized for this kind of use and will exhibit its own kind of lag, not to mention visual flaws.
What Is a Viewfinder in a Mirrorless Camera?
If you are not a DSLR shooter, you are more likely than ever to use mirrorless.
Mirrorless interchangeable lens cameras (MILCs) have risen in popularity dramatically over the last few years. But why? What gives them an advantage over DSLRs? The answer lies very much in their viewfinders.
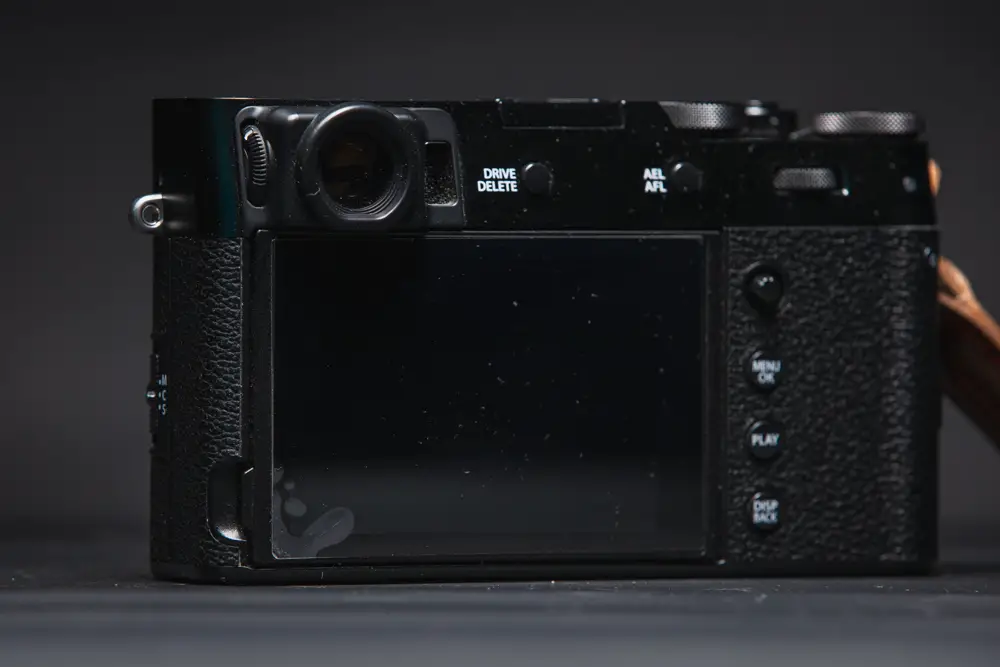
Unlike DSLRs, mirrorless cameras do not use optical viewfinders. That is, their viewfinders do not work based on a few pieces of glass and moving parts.
Instead, they have electronic viewfinders.
What Is an Electronic Viewfinder?
Basically, it is a miniaturized version of the rear LCD live view on any ordinary DSLR.
Instead of physically reflecting light coming in through the lens, the camera records a live feed of what the image sensor is seeing and transmits it to a small screen.
In the case of mirrorless cameras, this screen is tiny of course – just about the same size as the optical viewfinder on a DSLR. And unlike the rear LCD, the electronic viewfinder tends to be highly optimized for the task of viewing and composing your picture.
Most mirrorless cameras today use high-refresh rate OLED screens for this purpose.
So, what does this do for you?
In simple terms, it gets rid of the most annoying issues with DSLRs.
Advantages
With a mirrorless camera, can seamlessly switch between video and still photography. You do not have to worry about shutter lag. Lenses can be made much more compact as designers don’t have to worry about flange distance.
And to top it off, the camera itself can be a whole lot smaller and lighter since there is a lot less glass inside.
But what’s even more, mirrorless cameras can display information in the viewfinder that just isn’t available on DSLRs.
While the SLR lets you see what the lens sees, a MILC lets you see what the sensor sees.
This means that you can accurately display depth of field, focus, color balance, and even more, directly in the viewfinder. And all in real-time too!
Because of the lack of moving parts (many MILCs do not even use mechanical shutters these days), filmmaking, burst shooting, and auto-focus on these cameras is incredibly quick and responsive too.
Of course, it’s not all sunshine and roses. MILCs are new, and they rely on even more high-tech hardware than other digital cameras, so one of the biggest issues with them is availability and price.
Also, because the viewfinder is fully electronic, remember it can consume a lot of battery power, meaning mirrorless cameras generally don’t last as long between charges as DSLRs.
Evolution of the Viewfinder
Throughout the history of photography, many viewfinder designs have sprung up.
In fact, you could say the definition of what a viewfinder is has changed a lot over the years.
Therefore, it’s necessary to know where the viewfinder came from in order to truly understand what it is, and what it does and does not do for your photography.
The Early Days
In the beginning, most cameras did not use viewfinders except for the most primitive kind.
For example, many types of cameras from the 1920s and earlier used “sports finders”. Essentially, nothing more than a pop-up metal frame, not too dissimilar from the sights on an old-fashioned rifle.
The frame literally showed you the rough area that would be taken up by your photograph, so you could do some basic composition by looking through it.
To a photographer raised on today’s technology, this might seem confusing. How could you possibly expose correctly if you couldn’t even tell if your shot was in focus?
The answer lies in a technique called zone-focusing, whereby it is actually possible to “shoot from the hip” without having to take a single peek at what your lens is seeing.
This is done by shooting at the smallest possible aperture and approximating the required focus. This can mean plain guessing the distance between you and your subject, or using a separate rangefinder for precise measurements.
The Age of the Rangefinder
Soon enough, some people had a brilliant thought to bring camera technology forward.
“What if,” they asked, “we just took the rangefinders that people have been using this whole time to focus their images properly, and just put them in the camera to start with?”
It wouldn’t be long before this happened. With Oskar Barnack’s innovation of the small-format (35mm) camera, the Leica, this development quickly gained steam.
Mind you, even early Leicas came without rangefinders! Instead, they just had a small viewfinder which was essentially a miniature telescope that you peeked through to frame your image. Still, at least they gave you a cold shoe to mount your separate rangefinder onto.
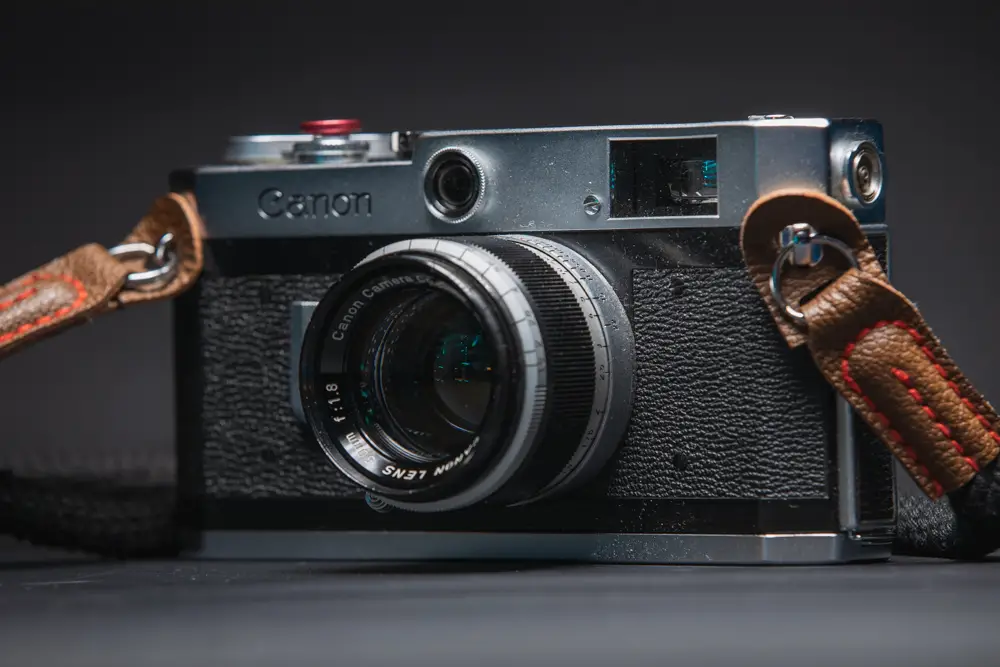
However, with the release of the Leica II in 1932, the era of viewfinder-only cameras effectively came to an end. Many cameras relying on simple viewfinders, including sports finders, would still be made, but mostly as cost-cutting budget models.
The Leica II was so revolutionary partly because it included two viewing devices. The first was a telescopic viewfinder similar to the original Leica’s. The second, a built-in rangefinder that directly coupled to your lens.
Eventually, these two would merge into one shared rangefinder/viewfinder window.
What this meant is that it removed an important step from the shooting process. You no longer had to “transfer” the distance value from your rangefinder to the camera.
Instead, you simply looked through the viewfinder, twisted the focus ring on your lens, and the rangefinder would show you in real-time whether you were in focus.
From the 1930s all the way to the late 50s, the interchangeable-lens rangefinder camera was the gold standard in small-format photography, and it is mostly because the implementation of a rangefinder made focusing and composing so much easier.
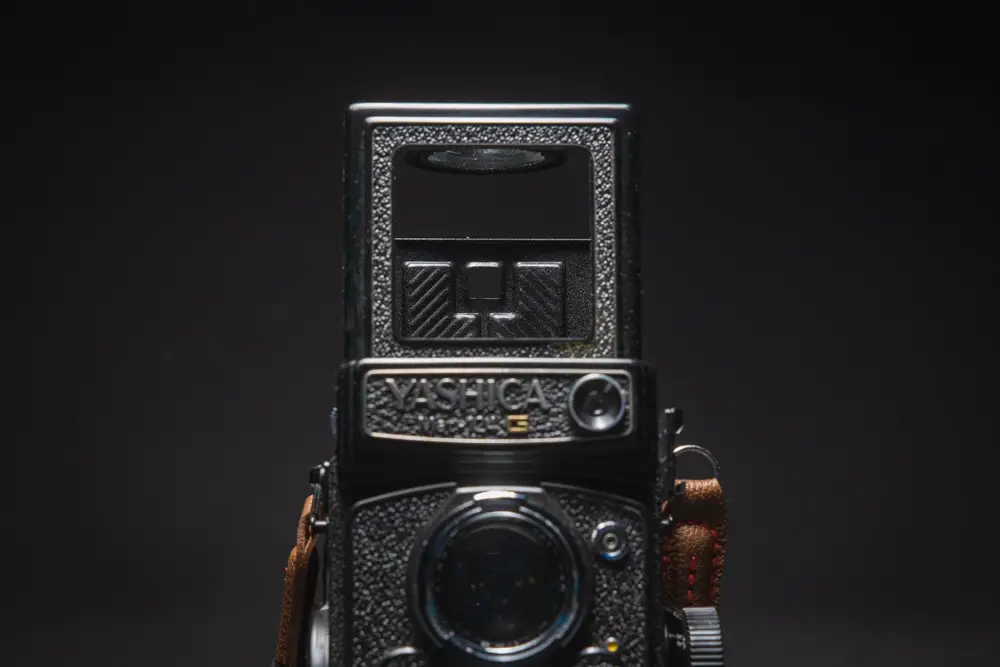
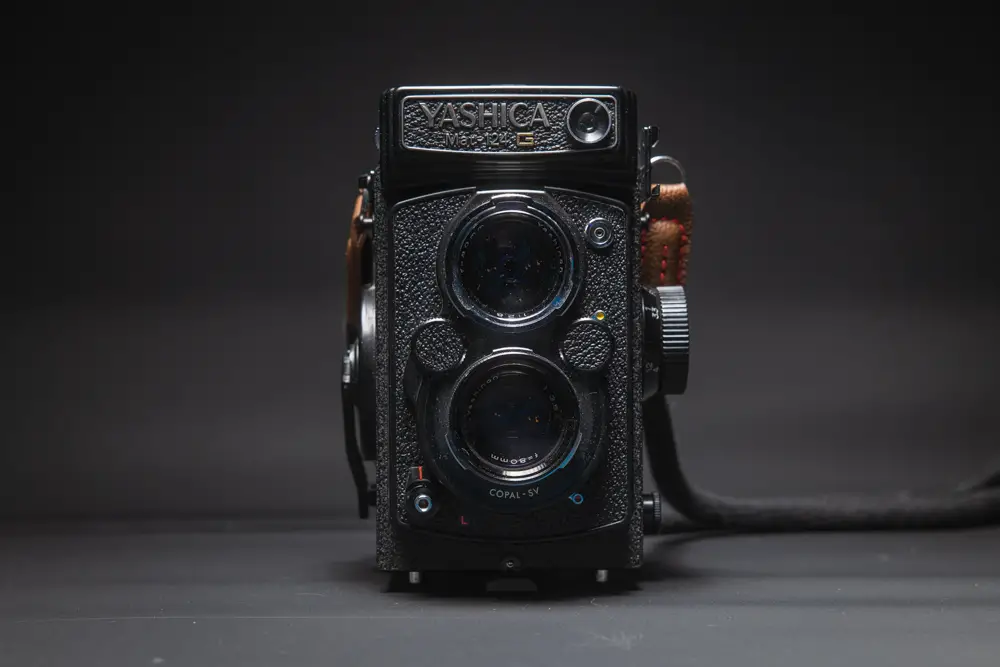
A Suitable Alternative – TLRs
One of the most widespread contemporary alternatives to the rangefinder was the TLR.
TLR stands for Twin-Lens Reflex. In this design, the camera sports two lenses. One, usually the bottom lens, is the taking lens. This is the lens that actually exposes the film.
The second lens is the viewing lens. Basically, this lens directs light into a group of mirrors, reflecting it out of the camera body.
You would operate TLRs by holding them at hip or waist level and looking down into the viewfinder, which was nothing more than a big window.
Because the camera used mirrors to achieve this, left and right within the viewfinder would be flipped! As the viewing lens would be placed right on top of the taking lens, it showed you an image that was close, but never identical to, what the taking lens was seeing.
TLRs were the most widespread form of professional camera for medium format film until well into the 1970s. After that, their viewfinder development mostly converged with that of 35mm cameras.
During this time, camera technology took many leaps. Leica released the M3 in 1954, which for the first time in the brand’s history gave you one large window for both viewing and focusing. It also incorporated parallax correction into the viewfinder.
This was a big deal with both rangefinder cameras and TLRs, and it is important to understand why.
The Problem with Parallax
Because the rangefinder/viewfinder window on a camera such as a Leica is located close to the camera’s top left corner, you are never viewing what the lens sees in real-time.
Because of that, your photographs are always bound to turn out slightly differently from what you see in the viewfinder. That difference between what you see and what you get is called parallax error.
TLRs fix this problem for the most part, but for 35mm, they are impractical for ergonomic reasons. And even then, TLRs also have their own little parallax issues since the taking and viewing lenses are never the same.
Especially at shorter distances, this makes them nearly unusable.
So, for the longest time, the best you could get was a fancy rangefinder that used high-tech trickery to try and compensate for parallax.
Usually, this was in the form of projected frame lines that would show you which part of the viewfinder area fell within the frame of your photo. High-end cameras could switch between different kinds of frame lines depending on what lens you were using.
However, technology could not iron out all the disadvantages of the rangefinder system. Photographers were craving more, and eventually one new camera design would give them just that.
The Birth of the SLR
The SLR followed a simple concept. Use mirrors, like with the TLR, but only one lens for viewing and taking. In order to take your picture, it would use some kind of switching mechanism to choose between reflecting light into the viewfinder and exposing the film.
SLRs took a long time before they became truly practical.
The first mass-produced SLR camera was the Exakta, which competed with Leicas and other high-end rangefinders as early as the 1930s. However, the Exakta was unwieldy to use, and the biggest reason for that was its viewfinder system.
Unlike a rangefinder, the Exakta reflected light entering the taking lens using a reflex mirror. The viewfinder was an open waist-level setup, like on a TLR. However, because this was a 35mm camera, the viewfinder image was pretty small.
What this meant is that on the one hand, photographers could use the Exakta to take photos exactly as they saw them, pioneering “through-the-lens photography”.
However, the viewfinder image would still be mirrored, not to mention hard to see without squinting. It didn’t help that the Exakta’s controls were quite unorthodox and hard to get used to.
Refinements, and a Boom in Popularity
SLRs would have to wait till after the war for their big break.
It was then that Japanese manufacturers began experimenting with the power of prisms.
Instead of trying to make waist-level shooting work on small format, they would use glass prisms to reflect the light coming in through the lens in such a way that it could be viewed comfortably, and upright.
The first crop of SLRs using this design, such as the Asahi Pentax, came out in the 1950s. With the release of the Nikon F in 1959, the SLR cemented itself as the not just the new kid on the block, but the preferred choice of the vast majority of pro photographers.
This is because advanced SLRs such as the Nikon did more than just put a prism on an existing design.
Instant-Return Mirrors
You see, in early SLRs, every time you tripped the shutter you would have to manually move the reflex mirror back and forth. So, after each shot, there would be a few moments of the viewfinder window being blacked out while the mirror was still flipped up.
On Nikons, Pentaxes, and every SLR that followed, the mirror flipped automatically with the shutter and flipped back after the shot, leaving only a fraction of a second of blackout during the moment of exposure.
This new breed of SLR also showcased another immense advantage of the design: DOF preview.
DOF Preview
On the handful of pre-war SLRs that existed, your viewfinder image changed in brightness and depth depending on the aperture setting of your lens. Many saw this as a nuisance and a disadvantage of the SLR.
That is, until designers found a way to turn it into a feature.
By designing SLR lenses so that they would stay at full aperture while you were composing and stop down to the taking aperture only in the instant the photo is taken, you could have the best of both worlds.
On the one hand, you could see the frame exactly as the lens saw it, and on the other, your viewfinder could still be bright and clear like on a rangefinder.
As an added convenience and further refinement, many SLRs had a button on the camera body called the DOF preview button.
DOF stands for depth of field, and it is a crucial concept in photography that we will take a look at in another article.
What the DOF preview does is the same thing as what happens when you hit the shutter on an SLR.
In other words, it stops the lens aperture down to the desired number. The viewfinder will get darker accordingly, but you will be able to see the depth of field through the lens and confirm before taking the shot.
This ability to see exactly what the lens sees, even reviewing your depth of field while composing, is something that was physically impossible with rangefinders.
No wonder that SLRs sold by the millions.
The Digital Revolution and the DSLR
SLRs remained king in pro photography for the 35mm format until well into the 90s. The next revolution, as you probably already know, would be the big boom in digital photography.
Shifting from film to digital, most of the big manufacturers barely redesigned their cameras. Nikon’s D1 was infamously not much more than an F5 with the film replaced by a digital sensor.
SLRs simply became DSLRs, digital single lens reflex cameras. And this would go on for the better part of the 2000s and 2010s. The viewfinder situation barely changed at all here.
The Mirrorless Camera – Coming Full Circle
It is only relatively recently that a new design has emerged for digital cameras that has begun to supersede the DSLR.
It is the mirrorless camera, and as we discussed earlier, it gets rid of a lot of old baggage.
By replacing the mirror and prism setup with an electronic viewfinder, MILCs save weight and bulk while offering numerous advantages.
It is the logical next step in evolution: we already changed the sensor from an analog one (film) to a digital one, so now comes the viewfinder as well.
How to Use a Viewfinder
So, now that we have taken an exhaustive look at the questions of what is a viewfinder, what does it do for you, and how it works, let’s go over how to use it to improve your photography.
This is meant to be a simple guide for someone who is new to the idea of incorporating the viewfinder into the creative process. However, if you follow these steps, you can improve your technique no matter your level of experience.
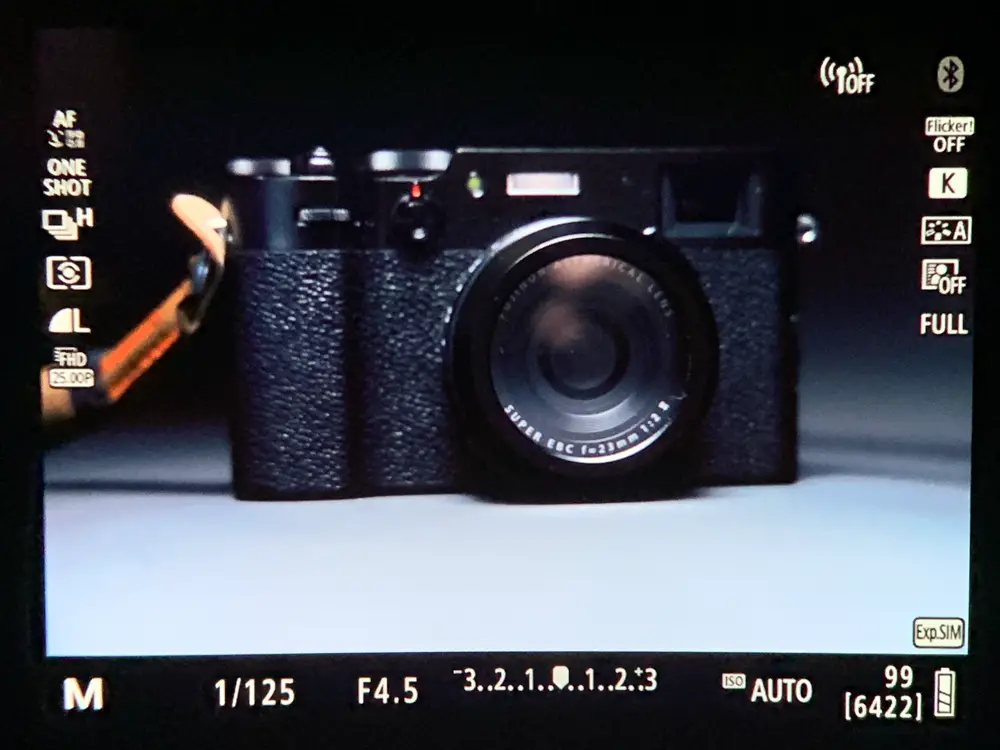
First, you should be aware of basic composition, as this will work the same no matter what kind of viewfinder you are using. We also recommend familiarizing yourself with all the various icons and information that the viewfinder display contains in your camera.
Once you’re all set with the basics, it is important to understand the exact type of viewfinder you are working with.
Consider its advantages and disadvantages (there will always be some of each!).
How to Use an Electronic Viewfinder
For example, if you are using a mirrorless camera with an electronic viewfinder, be aware that you cannot simply sit and compose endlessly as you would with an optical viewfinder.
Instead, try to imagine your scene in your mind’s eye first. That way, you will be able to finalize your shot quickly. And the less time you spend looking through the viewfinder of a MILC, the longer your batteries will last. So, conserve energy where you can!
However, don’t be afraid to make use of advantages either. You can use focus peaking and zebra patterning on electronic viewfinders to nail down manual focus, for example.
How to Use An Optical Viewfinder
If you’re using a DSLR, the near-total reverse applies. Feel free to compose through the viewfinder as it won’t cost you anything in terms of energy. Play around with focus, metering, and aperture as much as you need.
You can also use the viewfinder as a kind of scope, to get a view of the surrounding area and “hunt” for a good shot.
With this in mind, you should note that the image in your viewfinder will never be 100% true to the final shot as it would be with a MILC. Remember what lens you are using, and how it “sees” the scene!
Feel free to use DOF preview if your camera supports it, as it can help with determining the characteristics of your shot before hitting the shutter.
How to Use a Rangefinder
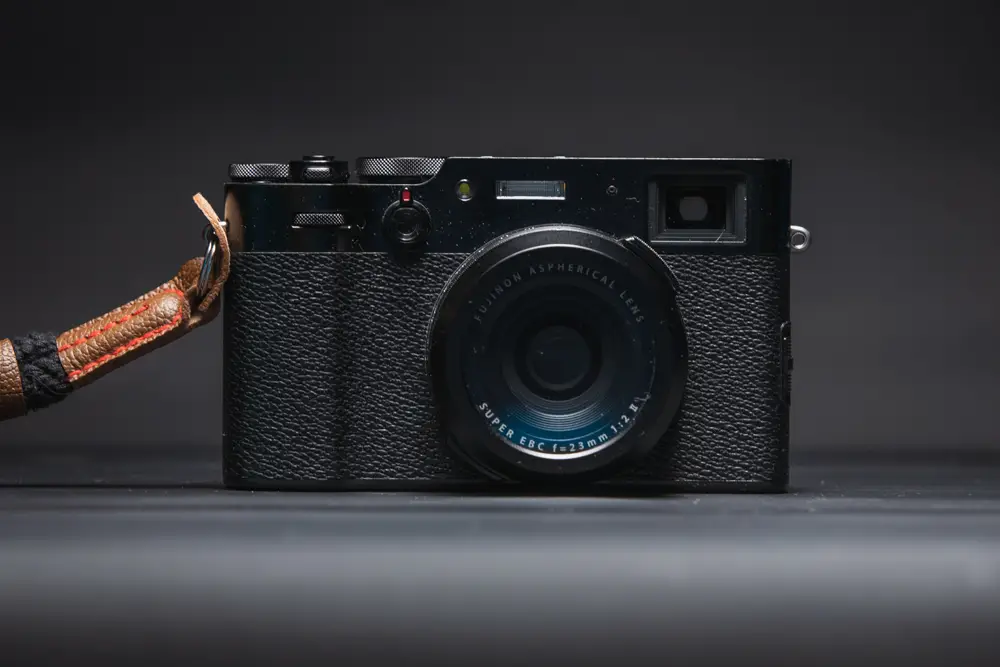
Though rangefinder cameras have mostly fallen out of fashion, Fujifilm still commits to their XPro line of pro-grade rangefinders, not to mention the much-loved X100.
And that doesn’t include the huge number of photogs using their vintage analog rangefinders! So, let us not exclude this loyal community with this guide.
Of all the different viewfinder types we have discussed, the rangefinder is probably the one with the steepest learning curve. Some say that learning to use one is like an art form all by itself.
That might be an exaggeration, but we will admit it is a bit tricky.
One thing you will have to get used to is that your viewfinder image never shows you the scene as the lens sees it. Instead, you are looking through a separate window.
If your rangefinder has them, make use of frame lines. Take them as a guide to show you where the edges of your frame are.
Also remember to step as far away as you possibly can from your subject without sacrificing your shot! Rangefinders exhibit worse and worse parallax the closer you get.
So, true “macro” photography is not an option, and close-ups will have to be rather sort-of-close-ups.
However, mind the advantages too! Unlike electronic viewfinders or SLRs, your rangefinder window will never be affected by what’s going on with your taking lens.
So, you can use colored filters without dipping everything in green, red, or blue, for example.
You can also focus manually, even in really low light conditions, without your viewfinder getting dark.
On the other hand, watch out for a rookie mistake: always double-check your grip to make sure your fingers aren’t in the frame, since you won’t be able to tell through the viewfinder!