
When you start learning about light, you will come across different terms for different kinds of light. Light has various properties. They depend on the angle, diffusion, intensity, temperature, homogeneity, etc. When reading about these properties, you will hear about the dreaded flat light.
Most photographers tend to be allergic to flat light. They avoid it like the devil. However, that does not mean that it is poor light, but it means that you need to learn how to use the potential it provides.
Flat light is so easy to get wrong, and it is probably the fastest way to ruin a picture due to light. But get it right, and it can be as appealing as any other type of light.
In my opinion, flat light simply is misunderstood and the easiest target to pick on. There are plenty of photographers that utilize it exceptionally well. As a result, their work is timeless.
- What Is Flat Light?
- Flat Light Equals Flat Photo?
- Is It Good Or Bad?
- What Are The Benefits Of It?
- Does It Cause Any Problems?
- What Causes Flat Light?
- How Do I Avoid It?
- Conclusion
What Is Flat Light?
If you have shot a portrait on a snowy overcast day, you have used one of the flattest lights naturally available. Flat light means that your subject is evenly lit, without many or any shadows at all. Shadows can be diffused or harsh, but they need to be as absent as possible.
In other words, flat light means that your subject gets lit in a way that the highlights and shadows have very little contrast.
That does not just apply to portraits. Flat light can be found and used in any photography genre. People who shoot vegan and natural organic products often use it for the products as it works well in that context.
So If I Use Flat Light, I Will Get A Flat Photo?
Well, no. Flat light does not always mean a flat photo. You can have it on a person with black clothes, and the clothes will provide enough contrast to prevent the photograph from being flat.
However, the person in the frame will still lack depth and contrast in the facial features. That is a look that Instagram and Youtube photography influencers often go for, like Peter McKinnon, Matti Haapoja, or Alen Palander.
They usually shoot on overcast or snowy days, probably because they live in the colder parts of Canada, and use dark elements to contrast the flat light.
Their photos are not flat, but the light they use is.
Is Flat Light Good Or Bad For My Photos?
There is no good or bad when it comes to light. The only thing that matters is whether you can utilize that light to fit your needs. Even though most photographers avoid flat light, and even they have their reasons for it, that does not mean flat light is poor.
Like every tool in photography, if you know how to use it, you will benefit from it. That applies to flat light too. Yes, you can not shoot everything with flat light, nor you should. It has its uses.
What Are The Benefits Of Flat Light?
Photographers often use flat light to avoid unflattering shadows on their models. They use it to portray moody and foggy scenes too.
1. It Works Well For Reducing Skin Texture
Because flat light removes most of the contrast on your subject, that applies to the skin also. When using flat and soft light in portraits, the skin appears less porous, and wrinkles do not get accentuated. That is why it is often used in the fashion industry, as it is more flattering with models that have skin with a bit more texture.
Of course, this is not always necessary, so use it wisely.
2. It Works Well For The Light And Airy Style
If you follow wedding photographers, you have probably acquainted yourself with the light and airy style. What is it? It boils down to using as flat light as possible, so the scene is less contrasty, but use warm tones and try to simulate film colors.
You can not have flat light and a film look on every photo. So when photographers apply the light and airy style everywhere, they degrade it as another Instagram filter. Thus, it becomes boring fast.
3. Works Well For Moody Photos Too!
If you want to achieve the look of the most known Instagram influencers, for example, Alen Palander, you will notice that they often use flat light. They compensate for the lack of contrast by crushing the black parts of the image.
The light is still flat. It often has no direction, or it does not cast a shadow. The dark elements in the scene, for example, black clothes, compensate for the lack of contrast by faking depth. However, you will notice that often the skin or facial features of the model have no depth. They are almost 2D-looking.
When shooting landscapes or portraits with natural light in foggy or misty conditions, you utilize flat light, except if you add in a light source or modify the natural light to counter the flatness.
Many photographers embrace this and use it to their advantage. Often by using the same tricks as Alen Palander does. Use dark clothes/elements to fool the eye that the light is not flat. The photo is not flat, but the light is.
What Problems Does Flat Light Cause?
Usually, if you use flat light wrong, you can not recover that simply in post-production. It can easily mess up the photo beyond repair. That, in turn, gives flat light a bad name, and it is often why most photographers dislike it.
1. It Can Make Portraits Unflattering
If you do not use flat light correctly, models which have uncharacteristic or unique facial structures can often lead to unflattering results. You see, flat light causes you to lose depth in the photo, and with that, you are losing those unique facial features that models have.
For that reason, photographers tend to use more dynamic light in situations like this.
2. It Kills Photo Depth And Shape
A good photo often needs depth and shape. If the photo looks too 2D when it needs depth, it will look dull or off-putting. Flat light, especially if it is global throughout the whole photograph, does not help with this. If a photo loses its depth when the depth is necessary, that will reduce the impact that the photo has on the viewer.
That is why most of the time, when photographers photograph people, they avoid light that is too flat. Nobody wants to see their face looking like a pancake. That also applies when photographing nature or architecture.
3. Flat Light Can Be Boring If It Is Not Used Properly
It makes portraits look unflattering and without dimension, if done wrong. When combined with a scene that has nothing special to it to attract the viewer’s attention, it will lead to a dull photo.
By boring, I mean it has nothing standing out. People are used to seeing flat lit flat photos from non-photographers. When the same comes from a photographer, it gets instantly classified in the viewer’s mind as just another snapshot from their friends. So they move on without bothering to take a look.
4. It Can Make Landscapes Look Messy And Uninviting
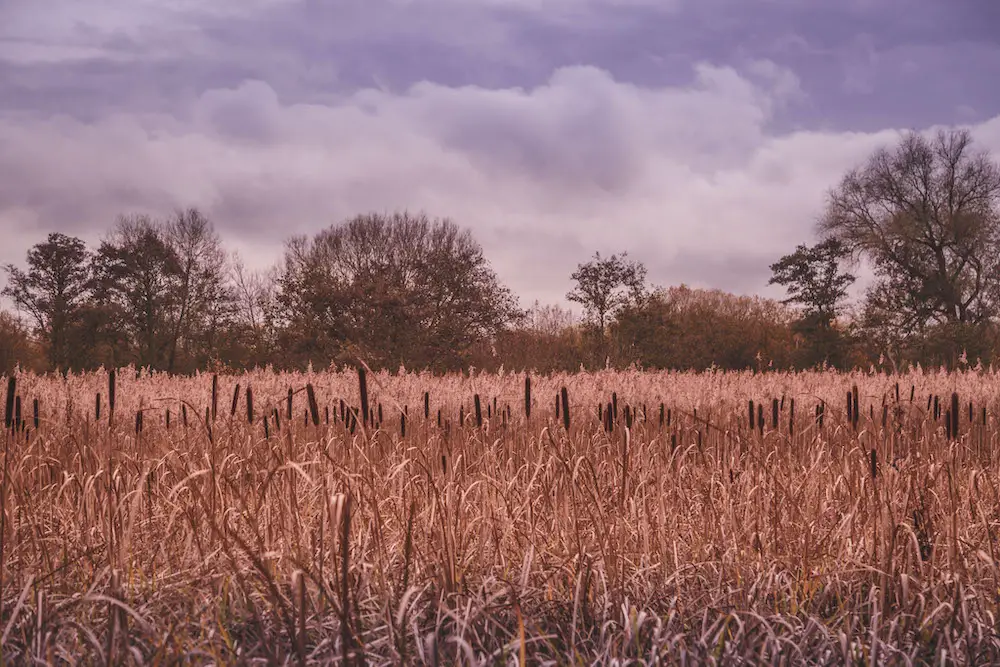
To get flat light in nature, you need overcast weather usually. With overcast weather, the sky is one giant light diffuser. However, in landscape photography, you do not need the sky to be a large diffuser – you need it to be interesting. But since the sky is practically boring, and the scene gets evenly lit, the whole photo becomes boring fast.
If you do not find a way to make something intriguing and show the depth and shape of the landscape somehow, you will end up with a gray and dull photo of a vista.
What Are The Common Causes Of Flat Light?
In short, diffusers that are several times larger than the subject. Now, you will probably think that you are not using any diffusers. And you are right and also wrong. See, even if you are not using any diffusers to diffuse the natural light, it does not mean that the diffusion is not naturally or artificially occurring.
For example, you are using a window light, but you have a see-through curtain on it? Well, you are using a diffuser to diffuse the sun. Are you using the window light, but the light gets bounced off the building next to yours? You are using a bounce diffuser.
There are thin clouds over the sun? The sunlight gets diffused.
To sum up, the light gets diffused in a variety of ways. Your job is to identify that and work around it. Or use it to your advantage, whichever is necessary.
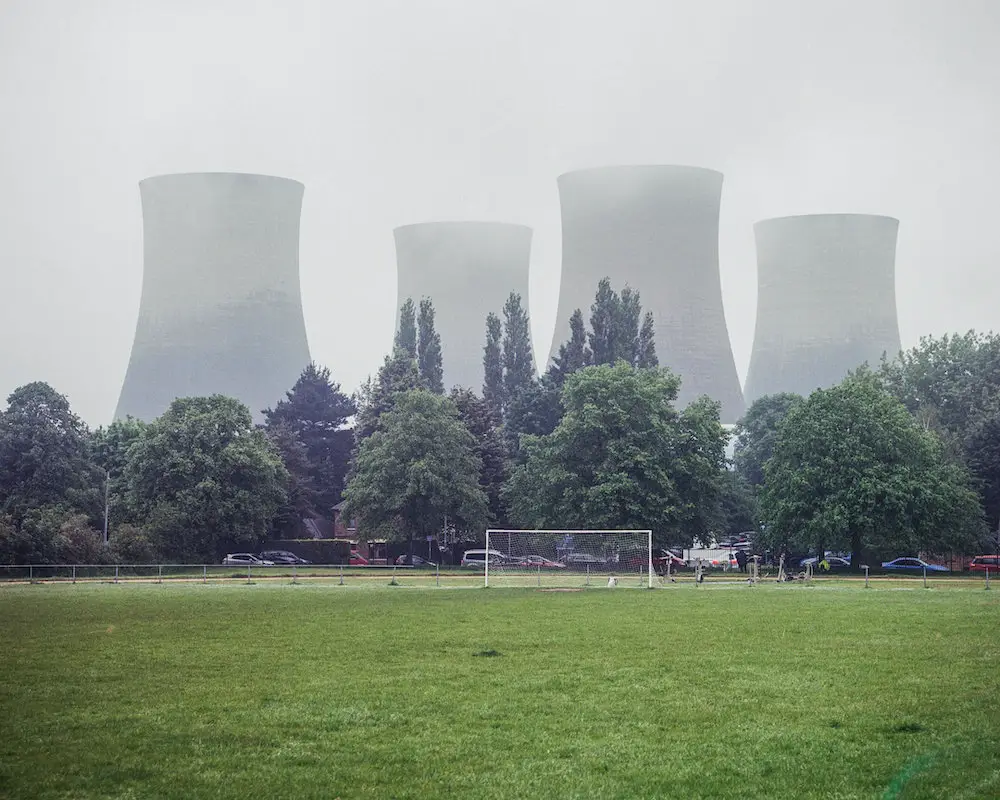
1. Overcast Sky And Thick Cloud Coverage
The most common culprit for flat photos and flat light is an overcast or cloudy sky. As previously discussed, the bigger the diffuser, the flatter the light. Well, it does not get any larger than the entire sky.
Clouds are just water particles in essence. When the whole sky is full of clouds, there is an endless amount of water particles refracting and diffracting the sunlight. That scatters the rays everywhere. That is one of the most effective diffusion methods.
Consequently, when it is overcast with thick cloud coverage, you can not easily pinpoint where the sun is in the sky. It takes a while for your eyes to adjust to the clouds and spot the slight difference in brightness.
As a result of that cloud coverage, the light is too flat. The only direction it has is downward. But since the ground reflect back enough light, wherever you turn, the light will still be flat, except if the ground is black or dark.
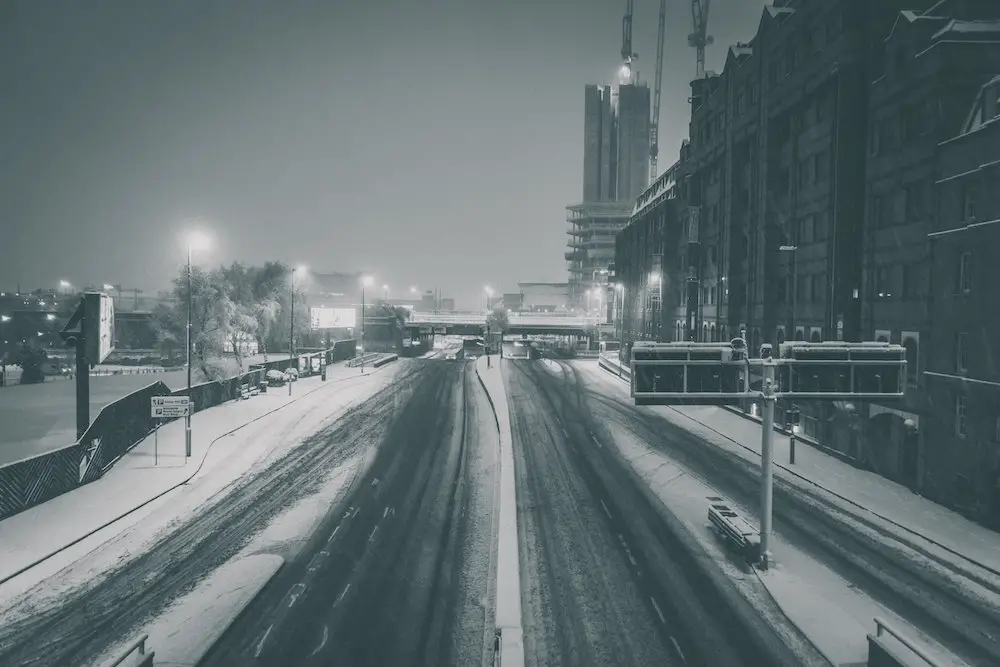
Pair an overcast sky with snow, and there will not be a single shadow anywhere. Everything will be bright and will have low contrast.
2. Too Much Diffusion
Let us say that you are shooting indoors to avoid that dreary overcast weather. But even then, the light seems a bit flat. That happens due to too much diffusion.
There are plenty of ways to diffuse light too much. The most common thing indoors is to fill the room with light. Most indoor spaces have white or bright walls. Consequently, if the light direction is not restricted enough, it will bounce around too much. As a result, you will have flat light.
You can avoid this by staying away from light sources that shoot light in all directions, like light bulbs. Instead, go for directional lights.
3. Direct Flash Or Camera Pop-up Flash
On-camera flash is quite useful when you are in low-light situations. However, if you do not use it correctly, it will result in unflattering flat light.
Until now, we discussed flat light that was soft due to diffusion. Direct flash is rarely soft since it lacks diffusion. Having harsh and flat light loses all the benefits soft and flat light has. It just looks worse.
Portraits get weird shiny highlights. All the unwanted skin textures get accentuated. There is a small but rather dark shadow, like an outline around one side of the subject, which looks weird.
That is the worst-case scenario for flat light. There are a few photographers that can pull this look off. 99% of the time, it just looks weird and unflattering.
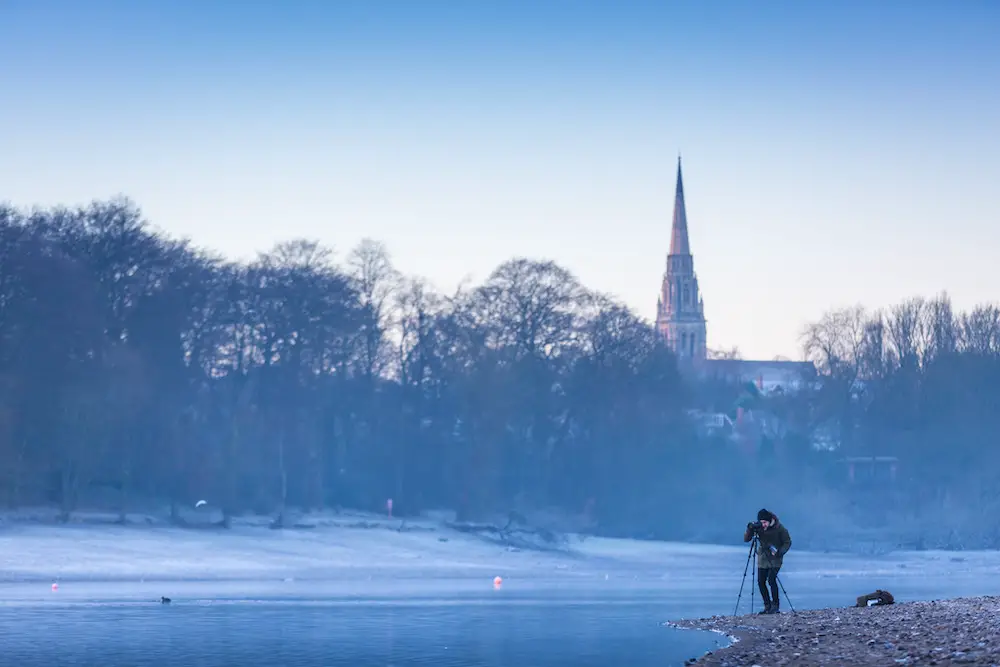
4. Blue Hour
So the day ends, the sun has just set, and the sky is blue. That time of the day is known as the blue hour. Many aspiring photographers wait for it since it is rather interesting to photograph at this part of the day. But if you are hoping to use just the light from the sky, you are in for a treat.
You will be getting flat light. Just like heavy cloud coverage, the sky is the problem. In this case, the sky is not a diffuser, but it bounces sunlight back from the atmosphere. Light-wise, it achieves a similar effect to cloud coverage but with less light intensity, and it is blue.
 There is one benefit to a blue hour. The light is a bit directional. At the blue hour, the sky is much brighter where the sun has set, while the opposite side is darker. That allows you to avoid the flatness if you rotate your subject slightly, so the light does not hit the subject straight on.
Got Stuck In A Situation With Flat Light… How Do I Avoid It?
There are instances where you can not avoid it. So you have to do something about it to avoid taking boring photos. If you can not embrace it at the moment, you need to figure out what to do. There are many ways to unflatten it, some simpler than others.
Tip 1: Use A Light Source Or A Reflector
Many photographers think that reflectors are only useable when there is a bright source of light to reflect. On an overcast day, a reflector can create enough difference to produce light that is not that flat. Do know that a reflector is a quick fix, it will provide some light, but it will not replace a dedicated light source, like a flash.
To properly use the reflector in a flat light scenario, you must first determine where most of the light comes from and try to bounce it back on the subject at an angle.
On an overcast day, you will have to figure out where the sun is and try to bounce that back. Even if you can not figure out where the sun is, it is bright enough so you can bounce back some light onto the subject.
Additionally, you can employ a flash to add dynamics and shape to the light. Even if it is a bare flash without any diffusion, you can use it at an angle, and you will break the flat light. An easy solution is to use a simple speed light as a side or a rim light on your subject.
Tip 2: Bounce Light Off Of Objects
When facing a flat light scenario, while you employ a flash or other light source to spruce it up if you do not have a diffuser, you can always bounce the light from an object. For example, using a white wall to bounce the flash from can serve well as a makeshift diffuser.
You can use glass surfaces to bounce light from if you want to create interesting highlights on top of the flat light. Glass surfaces reflect the light a bit harshly, but they often create interesting patterns that you can use in synergy with the light that is already available.
Tip 3: Rotate With Your Subject Around The Light
Sometimes, your only light source is highly diffused and flat but directional. Like a big window in a mall, for example. In this case, if you want to photograph your subject with the light source behind you, you will end up with flat light and a flat picture.

If you rotate your subject at least 45 degrees in any direction, you will get good angular light. This way, you will have more depth to your photo and a more emphasized subject.
That is a simple thing you can employ even though your light is not that flat. Be aware of the light direction and your surroundings, and you will do good.
Tip 4: Change The Scenery And Work Your Location
If you are stuck with flat light, you can always manipulate or work the location, so the light works to your benefit. For example, if you have an overcast day, you can bring your model to the shade. That will block the flat light, making it a directional and angular soft light. Effectively you are replicating a massive softbox.
If you can not find a shade, you can use the dark side of the reflector to block some of the light and create dynamic light. That is known as flagging. Pretty much everything can work as a flag. You can place a big piece of cardboard, curtains, a jacket, and literally, everything that blocks the light around your subject to cast some shade.
The main idea is to create angular light. The overcast weather fills everything with light from every direction. That way, you block some of the light. With that, you are forcing an angle.
You can combine this method with the reflector one, where you flag one side and add a sidelight to the other, creating dynamic light without employing any lights. You will need a friend or two to help you by holding the flag and reflector.
Light stands can be used for this, but they are bulky, and large flags or reflectors catch wind easy, and they can topple over. If nothing else, they will move enough to cause issues with the setup.
Tip 5: Come Back Another Day
Can not find shade? You do not have a reflector with you, or you are shooting landscape, and the flat light does not work? Well, you can always come back on a different day. I know this sounds like defeat, but sometimes it is better to cut your losses and try again.
Next time, check the weather forecast and scout the location. You should know your location well enough to be able to adapt. Always have a plan B, plan C, and contingencies.
If the location leaves you with just one option, and everything has to line up perfectly for the shoot to work, be it landscape or portrait, maybe you should look for a different location. Or at least have a backup location in case of the weather changes unexpectedly.
Conclusion
Flat light can be annoying, and it can ruin your photos. But also, with a little bit of work and experience, you can use it to your advantage. Be it by modifying it not to look flat or embracing it and adapting your set to work with it.
In any case, just like with any other light setup, if not used correctly, it will cause problems. But, if you use it right and get a bit creative with it, you can achieve excellent results. It is all about your ability to adapt, improvise and overcome.
As you can see, there are plenty of ways to embrace flat light and create contrast otherwise, be it by adding dark elements to the scene or having your model wear dark clothes. Set design and costumography are necessary tools in your photography toolbox, and you should use them all the time.
