The camera in the shape and form we know it today dates back to the 18th century. In short, we’re still dealing with having to play around with ISO, shutter speed, aperture, and all that. The daguerreotype camera built by Alphonse Giroux in 1839, wasn’t much different than the camera you are using today.
Yes, it was a big black box, where instead of a sensor you had to switch out photosensitive plates, but in essence, it does the same thing that a modern camera does. No matter the camera, the principle of operation remains the same:
-
- The shutter speed determines how long the shutter curtain stays open.
- The aperture determines the amount of light that can pass through the lens.
- The sensitivity (ISO) determines how much light the sensor (film/plate) can capture.
If you put Giroux’s camera next to your smartphone camera, they will perform the same operation to generate a photo. Of course, the photosensitive plates are not as sensitive to light as modern sensors are, thus you’ll need extremely long exposures, but the principle of generating an exposure remains the same.
Now, you, as a photographer need to understand exactly how a camera works, since it is the most important tool of the trade.
How Does ISO, Shutter Speed, And Aperture Work?
To be able to use the camera properly, you first need to understand what exposure actually is, and then understand shutter speed, aperture, and ISO. So let’s first dive into that.
What Is Exposure?
The camera, in layman terms, is a contraption that traps light onto a medium. Exposure is the process of trapping light onto a medium, by exposing the medium to the light. The technical goal of any photo is to achieve correct exposure. In other words, the photo shouldn’t be too bright or too dark.
Think of your sensor as a bucket, the photons of light are the rain, the aperture is the width of the bucket. The duration for which you leave the bucket in the rain is your shutter speed. Filling the bucket to the brim would be equal to correct exposure. If the bucket overflows, then you have overexposed the image. If the bucket isn’t full, then you have underexposed the image.
Shutter Speed
All cameras have curtains that open and close in a set time interval. Some cameras have mechanical curtains which open and close, others do the same operation but electronically. That is why some mirrorless cameras boast electronic shutter curtains which make them completely silent.
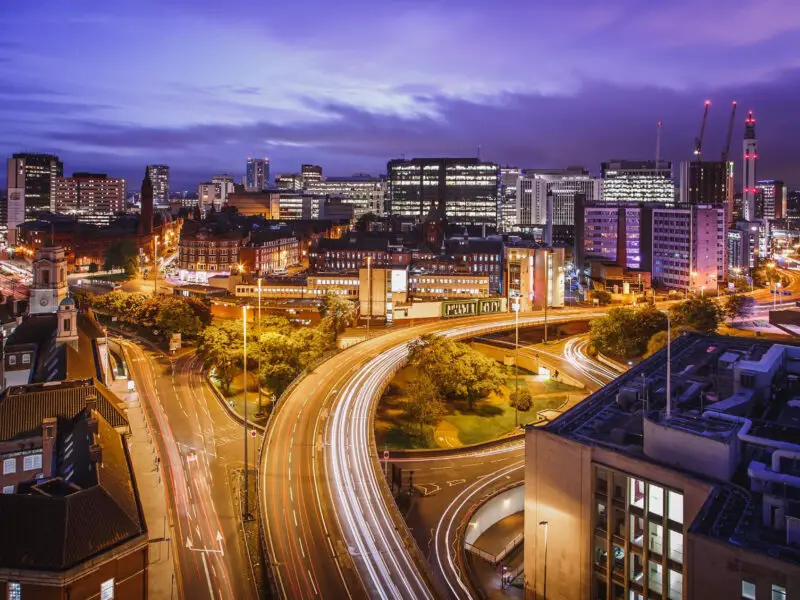
Whether the shutter curtain is electronic or mechanical, for now, it doesn’t make a difference. It does the same thing: it determines how long the sensor is exposed to light. Usually, most modern cameras allow you to set shutter speeds between 1/8000th of a second, to 30 seconds. With electronic shutters, some cameras can go even shorter than 1/8000th of a second, and in “Bulb” mode most cameras can go longer than 30 seconds.
The term “Shutter Speed” means how fast the curtain opens and closes. In other words, how long the shutter curtain remains open. Faster shutter speed means the curtain is open for a shorter period of time. A slower or longer shutter speed means that the curtain is open for a longer period of time.
The shutter speed is a linear measurement. In other words, 1 second of exposure lets in twice as much light compared to ½ second of exposure.
Aperture
All cameras require a lens to focus the light on the sensor. However, not all lenses are created equal. Every lens has an aperture. The aperture is simply the size of the lens opening where light passes through. The bigger the aperture, the more light the lens lets through.
All modern lenses have an aperture that can change using aperture blades. In other words, you have the ability to change the lens opening. That said, not all lenses have the same maximum aperture (lens opening).
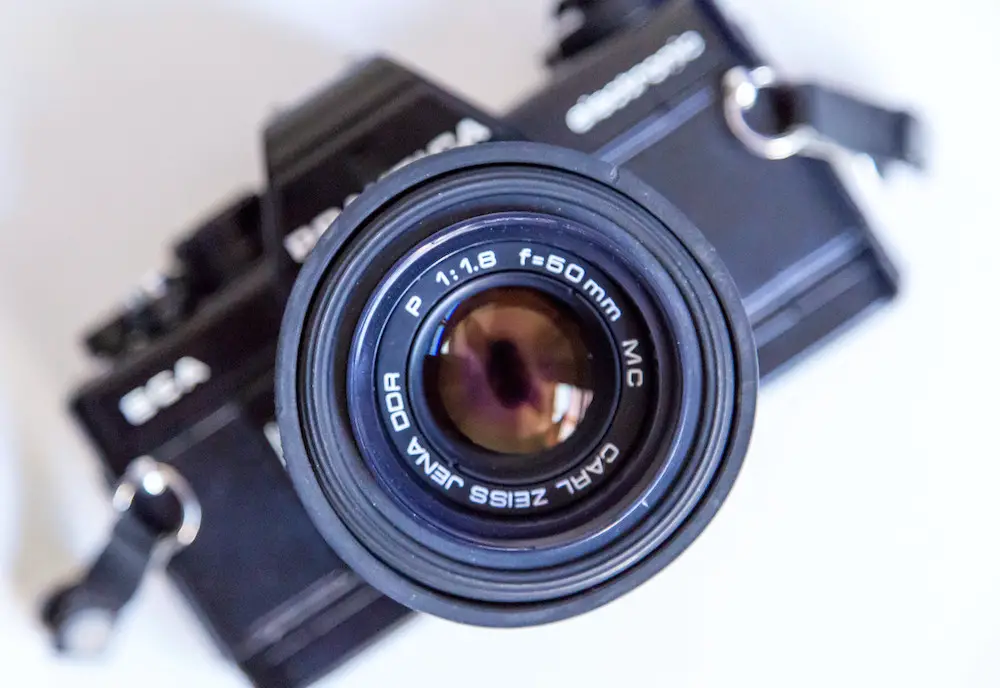
The aperture is marked by using an f/ number. For example, Canon 50mm f/1.8 has a maximum aperture of f/1.8, and a minimum aperture of f/22. The smaller the number, the more light it lets in. As a side effect the smaller the f/ number the fewer things you have in focus. Inversely, the higher the f/ number the less light gets in, but you have more things in focus.
Unlike the shutter speed which is measured linearly in fractions of a second, the f/ number (or f stop) isn’t a linear measurement. An aperture value of f/2.8 doesn’t let twice as much light as f/5.6. An aperture value of f/4 lets in half of the light that an aperture value of f/2.8 would.
ISO
The sensor is the device in the camera that captures the light. Ultimately it is the thing that creates the picture. Back in the day instead of sensors, there was film or photosensitive plates. What sensors, film, and photosensitive plates have in common is how sensitive they are. Film and plates have set sensitivity, so if you want a film stock that is more sensitive to light, you’ll have to buy a more sensitive one. With sensors, the sensitivity can be changed.
The sensor sensitivity is marked as ISO and the value usually starts at ISO100. Increasing the sensor sensitivity by increasing the ISO value comes with a cost: digital noise. The higher you go with the ISO value, the more noisy your photos will be. Additionally, the higher the ISO the less color information there is. In other words, you’ll be getting lower quality color, with gradations being harsher.
Bear in mind that in this department, not all sensors are created equal. Some sensors handle noise better than others. Therefore with some cameras, you can go higher with the ISO value without too many consequences, while with others you’ll have to be more careful.
The ISO value is linear, meaning that ISO200 is twice as bright as ISO100. Inversely, ISO 3200 is half as bright as ISO 6400.
A Stop Of Light
The term “a stop of light” is simply a term used to communicate brightness in relation to previous settings. For example, if you increase the ISO from 100 to 200, you’ve effectively gained one stop of light. Decreasing the shutter speed from 1 second to 2 seconds means that you’ve gained one stop of light.
So if you hear a photographer say “this way it is two stops brighter” it means that they’ve effectively manipulated the scene or settings to gain two stops of light on the photo.
Other Terms You Might Encounter
As with any craft, there is some sort of slang that people use to communicate certain aspects of it. The same applies to photography. Here are some common phrases/idioms that photographers use and might come in handy.
Exposure Related Terms
- “Blown out” or “Highlights are blown out” – An image is considered blown out when it is overexposed to the point where it can’t be recovered, and detail is lost. Highlights are blown out is the same principle, but affecting just the highlights. Often, when the highlights are blown out the whole image is considered “blown out”.
- “Clipped” or “Blacks are clipped” – The term “clipped” can be used instead of “blown out” in some cases, but most of the time it is used in the opposite direction: when the image is so underexposed that there aren’t any details in the shadows and recovery is not possible. “Blacks are clipped” refers to the shadows being underexposed to the point that they can’t be recovered.
Shutter Speed Related Terms
- “Burst Rate” or “FPS”. – “Burst rate” refers to the continuous shutter, while “FPS” refers to the number of frames the camera can make per second.
- “Drag the shutter”. – By dragging the shutter you are effectively using a shutter speed that is longer than necessary. Usually, you need to do this when you can’t push the other settings any further.
- “IS” and “IBIS” – “IS” stands for “Image stabilization”. Some lenses have a mechanism that stabilizes the image to reduce motion blur induced by camera shake. “IBIS” on the other hand stands for “In-body stabilization” which reduces blur induced by camera shake by moving the sensor around.
Aperture Related Terms
- “Fast lens” – refers to a lens with lower f/ stop numbers. For example a 50mm f/1.4 lens.
- “Bokeh” – is a term of Japanese origin, and it refers to the background blur. More specifically the specular lights in the background blur. Some lenses that are “wide open” produce circular bokeh throughout the whole frame, meaning that the specular lights have a circular shape. Other lenses have egg-shaped bokeh around the edges of the frame. Lenses that do not have many aperture blades produce hexagon or octagon-shaped specular lights when the lens is “stopped down” a bit. The aperture and distance to the subject determine the amount of “bokeh” (and background blur). The closer you are to the subject and the wider the aperture is, the more bokeh you get.
- “Wide open” or “Shoot wide open” – means that the lens has its aperture set to the lowest possible value. This provides the maximum amount of light that the lens can gather.
- “Stop it down” or “Stop down” – this is somewhat opposite of “wide open”. It usually refers to closing down the aperture, to reduce the amount of light that passes through the lens and increase the field of focus.
- “DOF” or “Depth of field” – “Depth of field” stands for the distance between the closest and furthest point of the photo that is in focus. “DOF” is simply an acronym for “Depth of field”. A wider aperture provides a shallower depth of field, while a smaller aperture provides a wider depth of field. In simpler terms, the lower the f/ number, the fewer things you have in focus.
Exposure Triangle
This is a term that you’ve probably come across one way or another. “Exposure triangle” is simply an expression illustrating the balance between shutter speed, aperture, and ISO. The goal is to achieve perfect or at least near-perfect exposure.
In photography, everything revolves around balance and sacrifice. As each of the three settings effectively adds or removes a certain amount of light, the perfect exposure lies in the perfect manipulation of the settings.
- Shutter speed: Longer shutter speed will let the sensor gather more light, but it will also introduce motion blur if the exposure is too long. Depending on the scenario, you might want to freeze the subject thus you’ll need a fast shutter speed (something like 1/200th). Other times you’ll want a long exposure, so you will use a slower shutter speed (something like 10 seconds).
- Aperture: a larger aperture will let in more light for the same shutter speed, but it will reduce the field of focus. A smaller field of focus is often desirable, but sometimes it can be a problem. Usually, when photographing landscapes a larger field of focus is preferable while photographing portraits often entails a smaller field of focus.
- ISO: increasing the ISO will make the sensor more sensitive to light, but it will also introduce noise. The goal is to keep the ISO as low as possible, to achieve a cleaner photo with more dynamic range and color fidelity.
How To Balance ISO, Shutter Speed, And Aperture?
When you are starting, it can be a bit hard to judge the settings “by eye”. Luckily all cameras nowadays feature a configurable light meter. The light meter is your best tool to judge the exposure of the photo you are going to take.
Light Meter
The light meter in your camera aims to aid you to get the perfect exposure. It does that by showing you how many EV’s you are over or underexposed in real-time. For now, all you need to know about EV is that it stands for “Exposure Value” and that one EV is equal to one-stop.
Therefore, if your lightmeter shows you that you are at -1 EV, this means that you will need to manipulate your settings to gain one stop of exposure. You can do this by reducing the shutter speed by half (for example from 1/100th to 1/50th), or to double your ISO (for example from ISO400 to ISO800), or to open up your aperture by one stop (for example from f/4 to f/2.8).
Bear in mind that in your camera you’ll probably find a couple of different metering modes. Those affect how the light meter measures the exposure. Knowing how each metering setting work ensures that you get a proper reading.
- Evaluative Metering (Canon) / Matrix Metering (Nikon) / Multi (Sony): These are the intelligent metering modes for each of the top camera brands. In essence, they work quite similarly, as they are all in one way or another automatic. In these modes, the camera decides which part of the frame it meters for.
- Center-weighted: In this case, the camera meters the whole frame, but it emphasizes the central parts of the image more while the corners are emphasized less.
- Spot metering: for the cases when you need to take a reading for one particular spot on the image, spot metering does that with the central point. So you just point the central focusing point of the camera towards the subject you want properly exposed, and you adjust your settings to that value.
Manipulating The ISO, Shutter Speed, And Aperture
In order to have full control over the camera, you’ll need to set the camera to manual mode. You can do this by twisting the dial to the “M” mode to get into manual mode. Once in manual mode, the camera no longer calculates the aperture, ISO, and shutter speed for you. You can use Av or Tv to have control just over the aperture or shutter speed (respectively). The camera calculates and sets the other two settings.
Manual Mode
The good part about Manual mode is that you have full control over the settings. The bad thing about Manual mode is that you need to do the math for all the settings. Good thing is that there are tricks to simplify that or avoid it altogether just by counting.
Most cameras by default are set to change the settings in ⅓ increments. This means that one click on the wheel/dial will change the selected setting by ⅓ of a stop. So, to change a setting by one stop, you’ll need three clicks.
The good part about this is that the “three clicks” apply to all settings. Some cameras require you to set the ISO to go in ⅓ increments instead of full stops manually, but this is done once, so it is a set-and-forget kind of thing. That said, until it becomes muscle memory to count and do the math about the settings in your head, you can count the clicks you need.
Example
Let’s say that you are trying to shoot a landscape, you dial some settings in, and your light meter shows you that you are -3EV from the correct exposure. Let’s assume that your initial settings are 1/100th, f/8, ISO100. In order to gain 3EV, you need 9 clicks.
You can distribute those 9 clicks to whatever setting you like or any combination thereof. You can reduce the shutter speed by 9 clicks, you can open up the aperture by 9 clicks, increase the ISO by 9 clicks. Or, you can reduce the shutter speed by 2 clicks, open up the aperture by 4 clicks, and increase the ISO by 3 clicks.
Aperture And Shutter Speed Priority
If you feel overwhelmed by Manual mode, you can try using “Aperture Priority” (Av), or “Shutter Speed Priority” (Tv). In these modes, you set the aperture/shutter speed you desire along with the ISO, and the camera calculates the other setting. This way you have a semi-manual mode, where you control two of the three settings.
If that is too much, there is the “Program” mode, where you just set the ISO, and the camera calculates the aperture and shutter speed.
Additionally, you can have full control over the aperture and shutter speed, and let the camera calculate the ISO value for you. Since there is no mode on the dial for this, you’ll have to do it by setting the camera to Manual mode and then setting the ISO to auto.
You can do this by going one value under the minimum ISO value. Usually under ISO100 for most cameras. In the camera menu, you can further limit the Auto ISO by setting the minimum and maximum ISO from which the camera can pick. You can find this setting somewhere in the camera menu.
Practice Makes Perfect For Ideal ISO, Shutter Speed, And Aperture
As with any craft, practice is of extreme importance. The best way to learn how everything I’ve written here works, is to go and shoot. Missing the exposure on a bunch of photos shouldn’t discourage you. Even though you have only three things to look out for, it requires a decent amount of practice in order to gain muscle memory for all this.
The good thing about cameras and camera sensors is that they are quite advanced. So if you underexpose or overexpose a photo a bit, you can recover it in Lightroom/Photoshop afterward. Just make sure you shoot in RAW or RAW+Jpeg so you have a RAW file to work with. The RAW file contains the complete sensor data and allows for much more shadow and highlight recovery. This means that you can fix many of your mistakes afterward.


